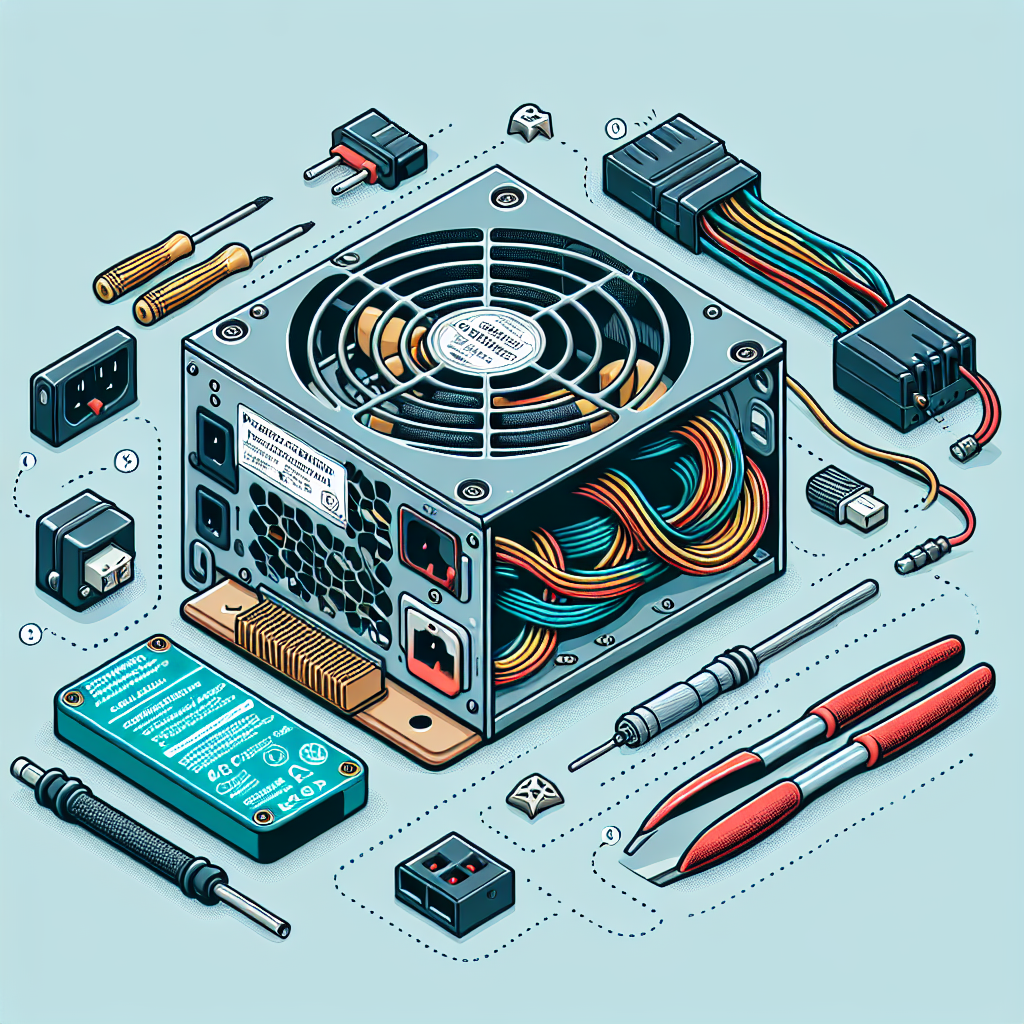
Are you ready to take the plunge and upgrade your computer’s power supply unit (PSU)? Look no further! In this step-by-step guide, we will walk you through the process of installing a PSU, ensuring that your computer remains powered and running smoothly. Whether you’re a seasoned computer enthusiast or a beginner, our easy-to-follow instructions will help you navigate this essential upgrade with confidence. So grab your tools and let’s get started on this exciting journey to enhance your computer’s performance!
Step-by-Step Guide: Installing a Power Supply Unit (PSU)
Installing a power supply unit (PSU) may seem like a daunting task, but with the right tools and a little guidance, it can be a straightforward process. In this step-by-step guide, we will walk you through the process of installing a PSU, ensuring compatibility, and verifying the installation. So, let’s get started!

Step 1: Preparing for Installation
Before we begin the installation process, it is essential to take some necessary precautions. Start by turning off and unplugging your computer from the power source. This step will help prevent any electrical shocks or damage during the installation process. Additionally, removing the computer case’s side panel will give you easy access to the internal components. Lastly, putting on an anti-static wrist strap will help protect sensitive electronic parts from static discharge.
Step 2: Checking PSU Compatibility
Compatibility is a crucial aspect to consider when choosing a new PSU for your computer. This step ensures that the new PSU is suitable for your motherboard and provides sufficient power to all your components. Identify your motherboard’s power connector, determine the PSU form factor (such as ATX or Micro ATX), and check the required wattage for your system. You can find this information in your motherboard and PSU manuals or by doing a quick online search.
Step 3: Removing the Old PSU
Now that you have prepared for the installation and verified compatibility, it’s time to remove the old PSU. Start by disconnecting all cables from the old PSU, ensuring that you remember the locations and connections for future reference. Then, remove any screws or brackets securing the PSU to the case. Take care while removing the old PSU from the case, ensuring you don’t damage any other components.
Step 4: Installing the New PSU
The exciting part begins as we install the new PSU. Place the new PSU into the case’s PSU mounting area, making sure it is properly aligned with the screw holes on the case. Secure the PSU in place using screws or brackets provided with the case. It is essential to connect all necessary cables to the motherboard and components, such as the CPU power connector and SATA power cables for storage devices. During this step, it is crucial to route the cables neatly and avoid blocking airflow to ensure optimal cooling for your system.

Step 5: Double-Checking Connections
Once you have connected all the cables, it is essential to double-check all the connections. Ensure that every cable is securely connected, with no loose or partially connected wires. Loose connections can cause poor performance or even damage your components. Pay close attention to the motherboard’s power connector, as it is a critical connection that ensures power distribution to all other components.
Step 6: Closing the Computer Case
With all the connections double-checked and verified, it’s time to close the computer case. Carefully put back the side panel, ensuring it is properly aligned with the case. Fasten the screws to secure the side panel in place. This step not only completes the installation process but also helps maintain a clean and organized appearance.
Step 7: Powering Up the Computer
Before powering up your computer, we need to follow a specific sequence to ensure everything functions as intended. Start by plugging in the power cable to the PSU but leave the PSU switch in the ‘Off’ position for now. Connect any other necessary cables, such as your monitor and keyboard. Once all the cables are in place, switch on the PSU and press the computer’s power button. Your computer should now start up smoothly, providing power to all connected components.
Step 8: Verifying PSU Installation
After powering up your computer, it’s essential to verify the PSU installation. Listen for any unusual sounds or noises that may indicate a faulty installation. Check if all components receive power, such as fans spinning or LEDs lighting up. Finally, observe your computer’s performance and ensure it is running smoothly and efficiently. If you notice any issues, it might be necessary to revisit the previous steps and double-check your connections.
Step 10: Expert Tip
For those looking for easier cable management, consider investing in a modular PSU. A modular PSU allows you to detach unused cables, reducing clutter and improving airflow within your case. Additionally, remember to refer to the motherboard and PSU manuals for specific instructions that may differ based on your specific model.
By following this comprehensive step-by-step guide, you can successfully install a power supply unit (PSU) in your computer. Remember to take the necessary precautions, ensure compatibility, and double-check all connections to achieve a seamless installation. With your new PSU in place, you can enjoy a stable and reliable power supply for your computer system.
